Set up products and perks
Create the perks your app unlocks and the products people buy, and link them to the App Store, Google Play and Stripe.
Your catalog in Studio has two parts. A perk is something your app unlocks, such as premium.
A product is what people buy, such as a monthly plan, and grants one or more perks. Each
product is linked to the matching item in the App Store, Google Play or Stripe, so a purchase there
unlocks the right perks. Products and perks (developer docs) explains the model in
depth.
Everyone can view the catalog; admins and the owner can change it. Members see New product, New perk and Add perk too, but get an error such as "Failed to create product".
Create a perk
- Open Products → Perks and click New perk.
- Enter a Name for your team, such as
Premium. - Enter the Slug (ID) your app checks, such as
premium: 3–32 lowercase letters, numbers, underscores and hyphens. - Click Create perk.
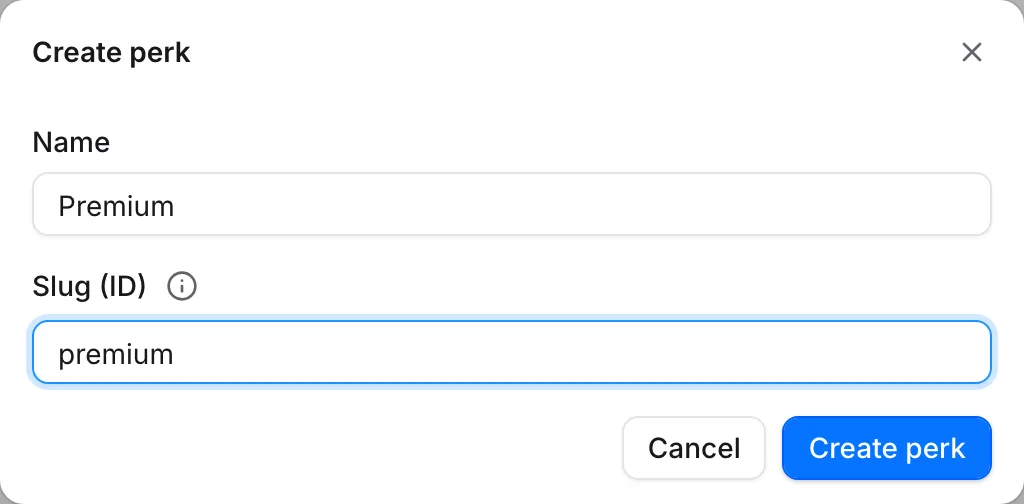 The slug is what your app checks; agree on it first
Agree on slugs with your developers before an app version ships, and don't change them afterwards.
Create a product
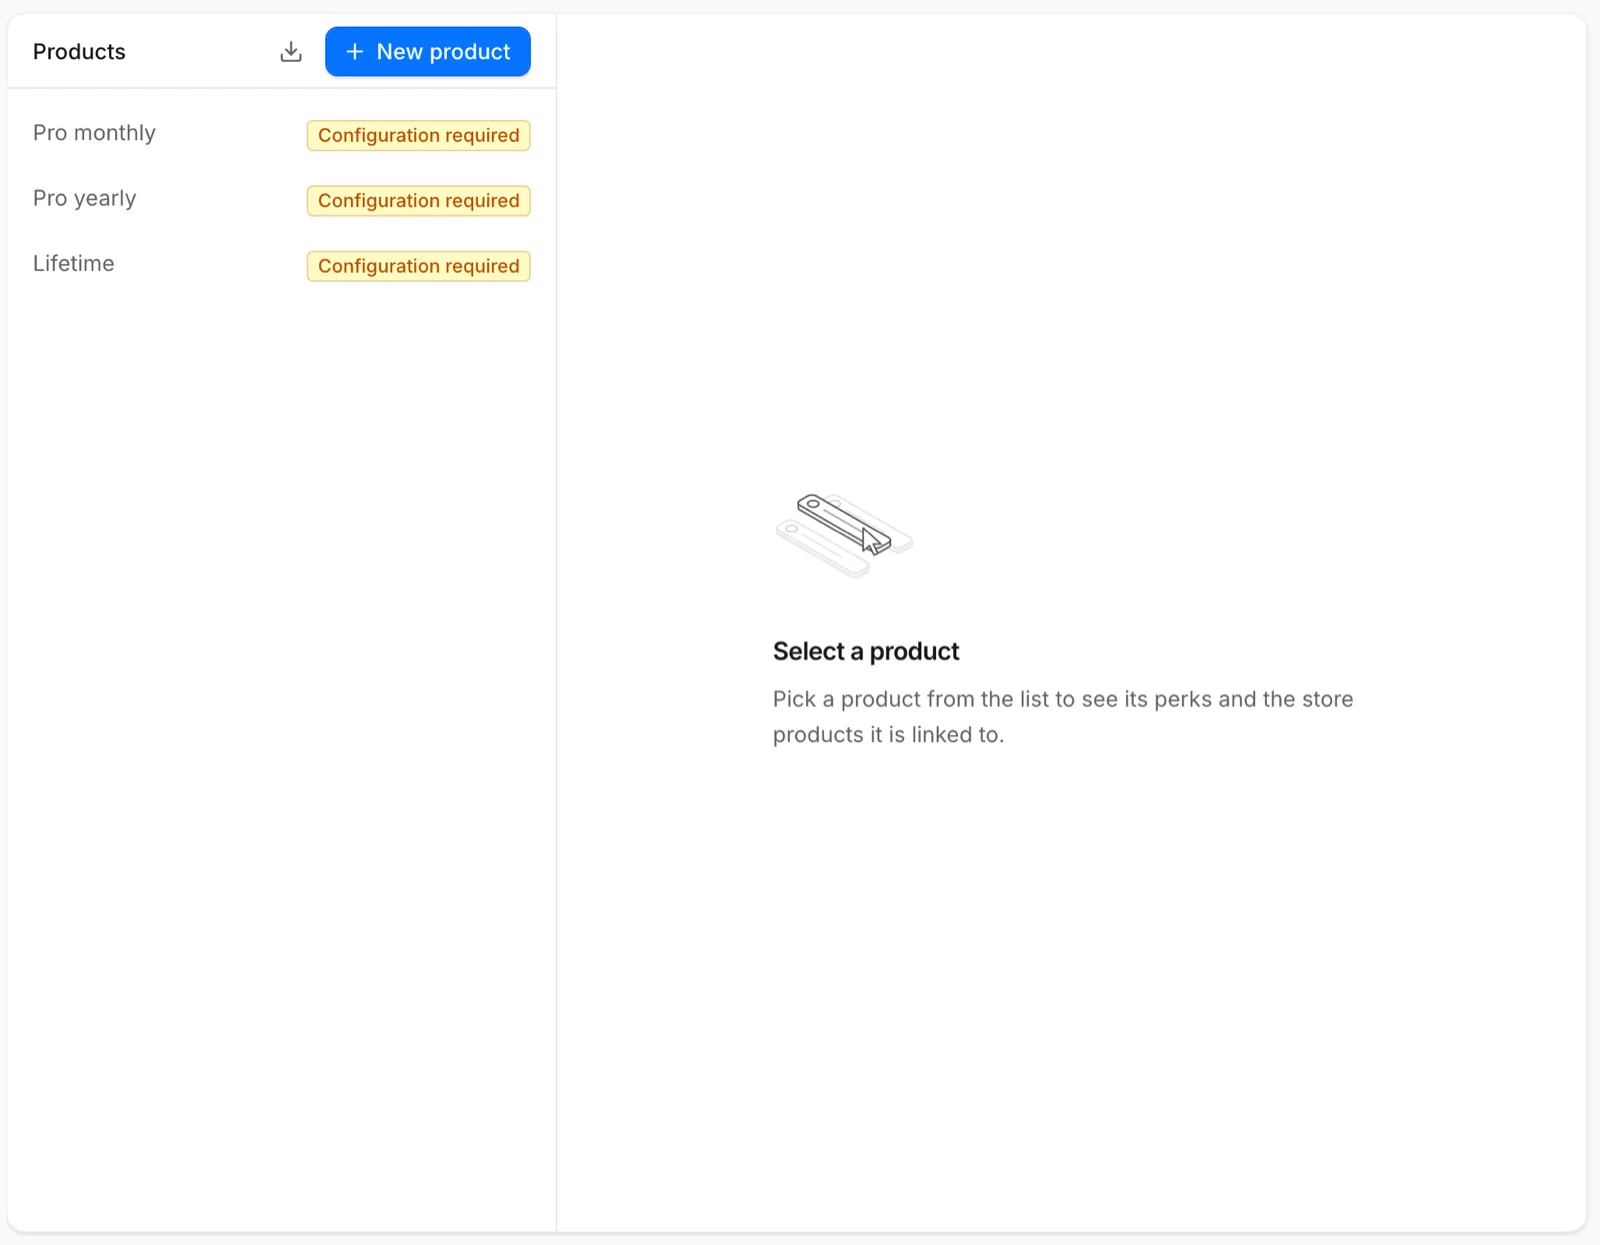 Every product your app sells, in one list
- Open Products → Products and click New product.
- Enter a Product name and check the Slug.
- Pick a Product type:
- Subscription, with a Billing duration of Weekly, Monthly, Quarterly, Every six months or Annual.
- Non-consumable: bought once, such as lifetime access.
- Consumable: bought again and again, such as coins.
- Click Create product.
The type and billing duration can't change later; in Studio, only the name can.
Attach perks
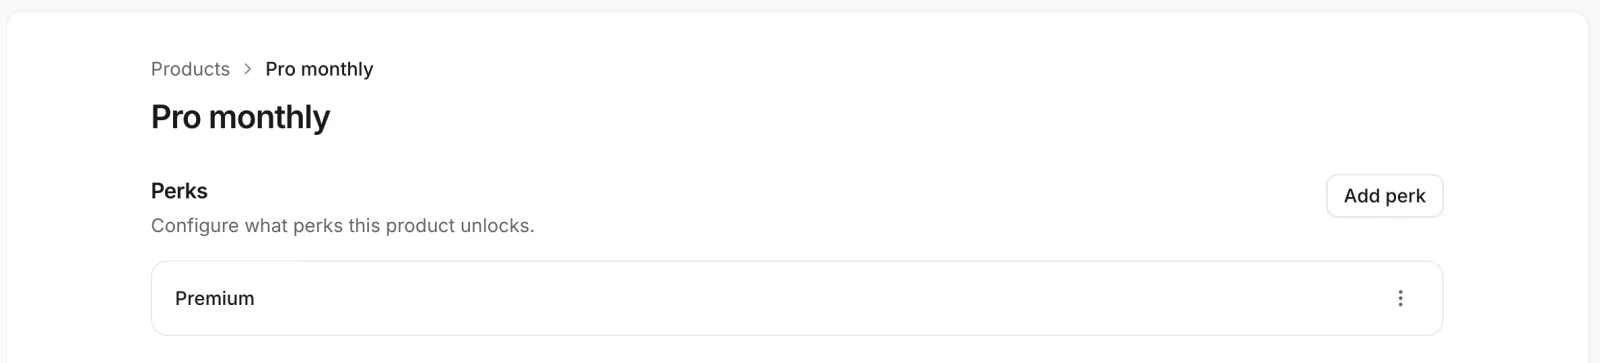 Add perk links a product to what it unlocks
On the product's page, under Perks, click Add perk and pick each perk the product unlocks.
Perk changes apply to everyone who already bought the product. Add perk grants the perk to every current buyer at once, without asking to confirm. Removing one (Delete in its menu) or deleting a perk takes it away; Studio asks you to confirm those.
People see the change the next time their app loads their access, usually within minutes.
Link store products
A product needs the matching item from each store you sell through. Until it has one, the list marks it Configuration required. The store must be connected first in Settings → Payment providers; see Payment providers.
On the product's page, under Payment providers, add the store's product:
| Store | What to enter |
|---|---|
| App Store | The Product ID from App Store Connect. |
| Google Play | The Product ID and Base plan ID from Play Console. |
| Stripe | The Product ID (prod_…) and Price ID (price_…). |
| Payment source | The Product key, and the Environment it applies to. |
A product can sell several store products, but each store product belongs to one product at a time, marked Active. Once people have bought a store product, its link can't be deleted and its store IDs can't change, because the store keeps reporting renewals under them.
Import from the stores
Instead of typing IDs, click Import products (the download icon) on Products → Products. Its badge counts store products that aren't linked yet.
- Find the store product in its store's list.
- Click Link.
- Pick an existing product, or Create new product.
Store catalogs are refreshed up to an hour apart. After adding a product in a store, click Refresh to see it at once. If one store can't load, the others still work; Try again retries it.
A purchase of a store product that isn't linked yet unlocks nothing, but Voidhash keeps it. Link the store product within a year and the purchase gets its perks. Link every store product before you start selling it.
Add offers
An offer sells a product at a discount, such as 50% off the first year.
- Create the offer in the store: a promotional offer in App Store Connect, or a developer offer on the base plan in Google Play.
- On the product's page, open the menu of its App Store or Google Play link and choose Edit.
- Add a row under Promotional offers (App Store) or Offers (Google Play) with an Offer
ID, such as
win-back, and the store's own offer identifier. - Click Save.
Use the same Offer ID on both stores, so a paywall or your app can ask for one offer on either platform. See Offers (developer docs).
If something's off
- Configuration required: link a store product under Payment providers.
- A store product is missing from the import: click Refresh. For the App Store, the connection also needs an App Store Connect API key.
- People bought but have no access: the store product isn't linked, or the product has no perk. See Find and help a person.
Next steps
Still stuck? Check Troubleshooting, ask us on Discord, or email support@voidhash.com on a paid plan.
Something wrong or missing on this page? Tell us by email or on Discord.