Connect Stripe
Connect your Stripe account so web purchases grant access and count in revenue analytics.
Connecting Stripe lets Voidhash record Stripe Checkout and Stripe Billing purchases, keep subscriptions current, and grant each product's perks. Your website starts the checkout with the buyer's ID; Stripe's events tell Voidhash what was sold. Create your Stripe products and prices first.
Stripe tells Voidhash what was sold; Voidhash grants the perk and notifies your server.
Live and test mode each have their own API key and event destination; you can connect test mode
first. Test mode purchases are recorded in the test environment and never unlock production
access; see Test purchases.
Connect your account
Create a restricted API key
In the Stripe Dashboard, open Developers → API keys and create a restricted key. Voidhash only reads from Stripe, so grant Read access to:
| Resource | Why |
|---|---|
| Balance | The Stripe fee of each payment |
| Charges | Payments and refunds |
| Checkout Sessions | One-time purchases and who bought |
| Customers | The distinct ID in a customer's metadata |
| Disputes | Lost disputes |
| Events | The details of each event |
| Invoices | Subscription payments |
| Payment Intents | Payment details |
| Prices, Products | Catalog import and price checks |
| Subscriptions | Subscription state |
A secret key (sk_…) also works, but a restricted key (rk_…) limits what Voidhash can do.
Add the provider
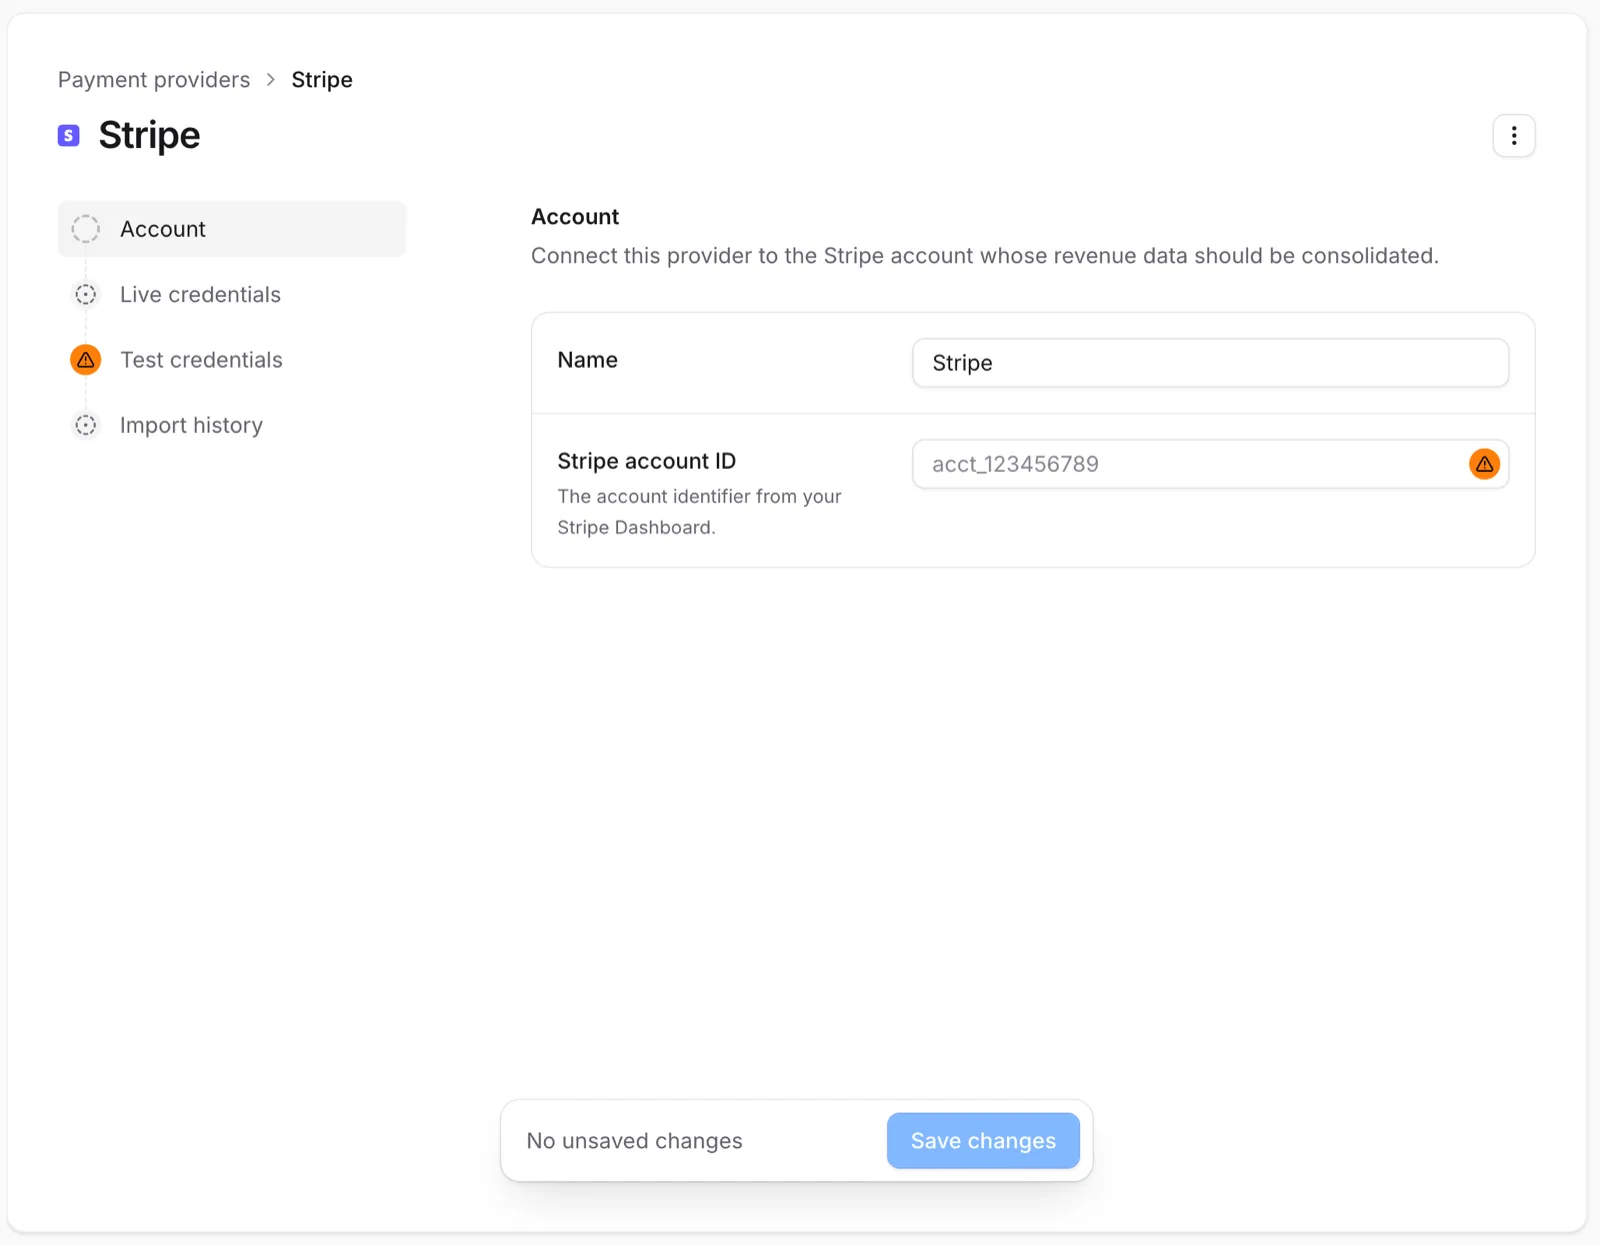
In Studio, open Settings → Payment providers and click Set up next to Stripe. On
Account, enter your Stripe account ID (acct_…). On Live credentials or Test
credentials, enter the Live API key or Test API key, and copy the Webhook endpoint URL.
Add an event destination
In the Stripe Dashboard, in the same mode, open Developers → Webhooks and add a destination:
- Choose events from Your account, with the Thin payload style.
- Select these events:
v1.checkout.session.completedv1.checkout.session.async_payment_succeededv1.invoice.paidv1.invoice.payment_failedv1.customer.subscription.updatedv1.customer.subscription.deletedv1.charge.refundedv1.charge.refund.updatedv1.charge.dispute.closed
- Choose Webhook endpoint and paste the URL from Studio.
Copy the destination's signing secret (whsec_…) into Live webhook signing secret or Test
webhook signing secret, then click Save changes and enable the provider. Repeat for the other mode.
Thin events carry no object data, so your Stripe API version doesn't matter: Voidhash reads each object from Stripe when the event arrives.
Connect your prices
Under Products → Products, click Import products. It lists the active prices of your
active Stripe products in each connected mode, marking test mode ones. Link each price to a
Voidhash product, or create the product from it. You can also add a Product ID (prod_…) and
Price ID (price_…) yourself, for example for an archived price subscriptions still renew on.
Connect every price that sells the product, such as one per currency, in both live and test mode. A purchase of an unconnected price is held until you connect it. See Link store products.
Identify the buyer
Your developers put the buyer's ID on each Checkout Session, so the purchase lands on the right person and counts toward the campaign that brought them. See Stripe revenue (developer docs).
Without an ID, Voidhash records the purchase, and the customer's later ones, on a stand-in person for the Stripe customer. Once the customer's metadata names a user, the stand-in merges into that person with its purchases and access. Payment Links, the pricing table and the Buy Button can't carry a buyer's ID, so their purchases always start on the stand-in.
Import your Stripe history
Events only cover what happens after you connect. For earlier purchases, start an import for live or test mode from the provider's Import history tab. It uses that mode's saved API key, which must also read Invoices, Checkout Sessions, Refunds, Disputes and Subscriptions; the import checks this first and names any missing permission.
The import reads everything Stripe holds from before it started: paid subscription invoices, paid Checkout Sessions, refunds, lost disputes, cancellations, ended subscriptions, and subscriptions with failing payments. Each is recorded as of when it happened.
- Connect your prices first. Purchases of unconnected prices wait, and the tab lists those prices.
- Imported purchases don't send your project's webhooks.
- It runs in the background, one per mode at a time, and resumes after Stripe outages or rate limits.
- Running it again is safe: recorded items are skipped. An object it can't read or record counts as failed, and the import continues.
- Amounts in other currencies are converted to USD at the rate of the day they were paid.
- Changes Stripe keeps no record of, such as a cancellation later undone, aren't imported. A lost dispute is dated when it was opened, since Stripe records no closing date.
Link existing customers
To attribute purchases already recorded, your developers set voidhash_distinct_id metadata on each
existing Stripe customer. Make sure the API key can read Customers, then run the history import
again. Purchases aren't counted twice; their customers are linked to the users their metadata names.
What a purchase grants
Stripe purchases and access lists the products each subscription, Checkout Session and price change grants, and how renewals, failed payments, cancellations and refunds change access.
Test purchases
Stripe test mode purchases are free, recorded in the Test environment, and never unlock access in production.
- Add Test credentials to the Stripe provider, with an event destination in test mode. See Add an event destination.
- Connect your test mode prices to the same Voidhash products as the live ones.
- Your staging site uses Stripe test keys with Voidhash test keys (
vh_pk_test_…,vh_sk_test_…). Pay there with a Stripe test card. - In Studio, choose Test in the project switcher to see the purchase.
Production uses live keys with vh_pk_… and vh_sk_…; don't mix modes. Stripe's test clocks move a
test subscription through renewals and failed payments, and Voidhash records the resulting events
like live ones.
Next steps
- Stripe purchases and access
- Link store products
- Sell on the web with Checkout (developer docs)
Still stuck? Check Troubleshooting, ask us on Discord, or email support@voidhash.com on a paid plan.
Something wrong or missing on this page? Tell us by email or on Discord.